Table of Contents
Sorghum, a versatile and hardy crop, has been grown around the world for centuries. Its seeds can be eaten as a grain, and its stalks can be used to make syrup, flour, and even biofuels. Despite its many uses, sorghum is still relatively unknown to many home gardeners. But with its adaptability to a wide range of growing conditions and its drought-resistant qualities, sorghum could be a great addition to any garden.
In this article, we’ll explore the world of sorghum and share tips on how to grow this fascinating crop in your own backyard. Get ready to discover the unique qualities of sorghum and how it can contribute to a more sustainable food system.
What is Sorghum?
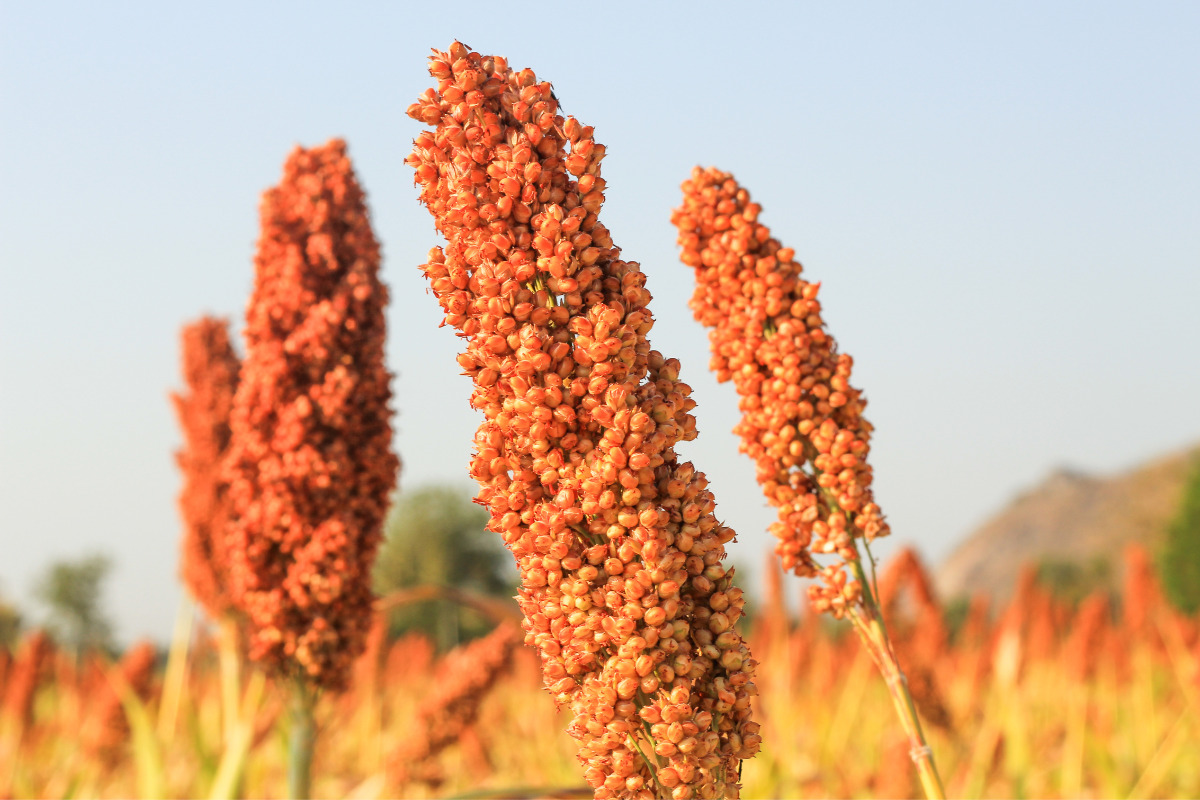
Sorghum is a type of cereal grain that belongs to the grass family. It is believed to have originated in Africa thousands of years ago, and it has since been cultivated in many parts of the world. The word “sorghum” comes from the Italian word “sorgo,” which means “to rise,” likely referring to the plant’s tall growth habit.
Sorghum has a rich history, and it has been an important food source for many cultures throughout history. It was a staple crop for the ancient Egyptians, and it was also widely used by Native American tribes in North America. Today, sorghum is grown in many countries around the world, including the United States, India, Nigeria, and Argentina.
So, in a nutshell, sorghum is a versatile and important crop that has been cultivated for thousands of years. Its origins can be traced back to Africa, but it is now grown all over the world.
Uses and Benefits of Sorghum
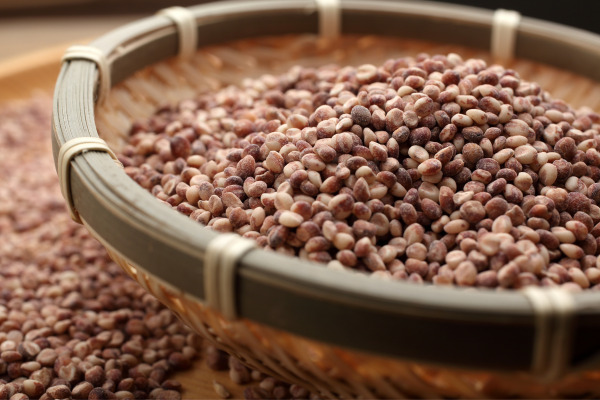
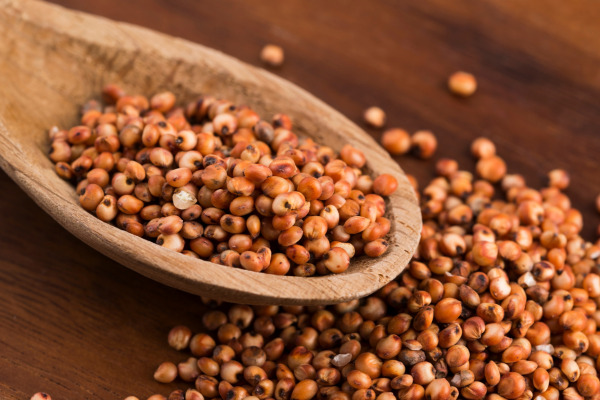
Sorghum is a versatile and nutritious grain that has been cultivated for thousands of years. It is a staple food in many parts of the world, particularly in Africa and Asia, and is also used for animal feed, biofuel production, and other industrial applications.
One of the key benefits of sorghum is its nutritional value. It is high in fiber, protein, and a range of vitamins and minerals, including iron, magnesium, and zinc. This makes it an excellent choice for people who are looking for healthy, nutrient-dense food.
In addition to its nutritional value, sorghum is also known for its ability to withstand drought and other challenging growing conditions. This makes it an important crop in areas with limited water resources, and it is often used in areas where other crops struggle to survive.
Finally, sorghum is also an important crop for sustainable agriculture. It is relatively easy to grow and requires fewer inputs than many other crops, making it a good choice for farmers who are looking to reduce their environmental impact.
How to Grow Sorghum
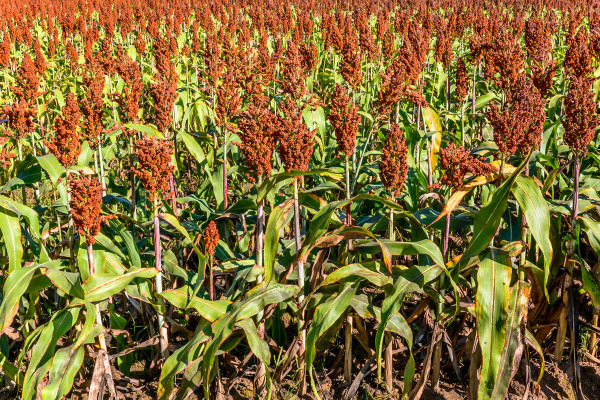
Here’s how you can grow your very own sorghum plants step by step!
Step One: Choose the right time to plant
The right time to plant sorghum depends on various factors such as the climate, soil temperature, and the specific variety of sorghum you are planting. However, in general, sorghum is typically planted in late spring or early summer when the soil has warmed up to a temperature of at least 60°F (15.5°C).
This temperature is necessary for the seeds to germinate properly. It’s important to note that sorghum can be sensitive to frost, so it’s important to plant after any danger of frost has passed. It’s best to consult with your local agricultural extension office or gardening expert for specific planting dates and advice based on your location.
Step Two: Prepare the soil
To prepare the soil for planting sorghum, you should start by removing any weeds or debris from the area where you plan to plant. Loosen the soil with a hoe or tiller to a depth of at least 6 inches.
You may also want to add organic matter like compost or aged manure to the soil to improve its fertility and texture. After this, level the soil surface and create rows for planting. The rows should be spaced 18-36 inches apart, depending on the sorghum variety. Finally, water the soil well and allow it to settle for a few days before planting.
Step Three: Select and sow the seeds
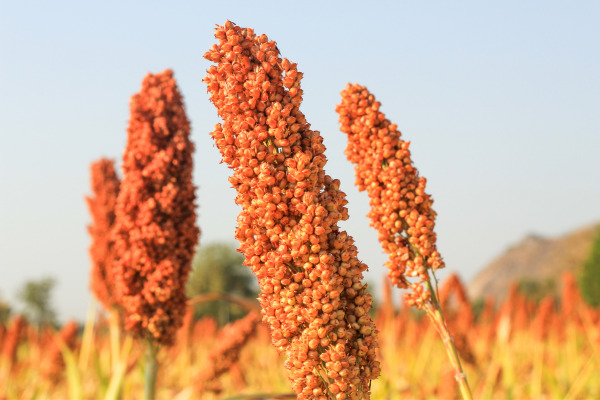
Choosing the right sorghum seeds is important for a successful crop. Look for seeds that are certified disease-free and have a high germination rate. You may also want to consider the variety of sorghum you want to grow, such as sweet sorghum for making syrup or grain sorghum for livestock feed or human consumption.
When selecting seeds, check the recommended planting time and growing conditions to ensure they are suitable for your region. Look for a reputable seed supplier or store that offers high-quality seeds and has a good reputation among other farmers and gardeners.
Sorghum seeds can be sown directly in the garden or in seed trays. The seeds should be sown about 1-2 inches deep and spaced about 6-12 inches apart, depending on the variety. It is important to ensure that the soil is moist and warm before sowing the seeds. After sowing, the soil should be watered gently but thoroughly to ensure good seed-to-soil contact.
Once the seedlings have emerged, they can be thinned to the desired spacing. Sorghum can also be grown from transplants, which are started indoors and then planted outside once they are established.
Step Four: Water the seeds
When it comes to watering sorghum seeds, it is important to strike a balance between providing enough moisture for the seeds to germinate and avoiding overwatering, which can cause the seeds to rot. Here are some tips for watering sorghum seeds:
- Water the soil thoroughly before planting the seeds to ensure that it is moist.
- After planting the seeds, water them gently to avoid dislodging them or burying them too deep in the soil.
- Water the seeds every few days, or whenever the soil starts to feel dry to the touch.
- Avoid overwatering by making sure the soil is well-draining and doesn’t become waterlogged.
- Once the seedlings have sprouted, water them deeply and less frequently, allowing the soil to dry out slightly between waterings.
Step Five: Thin the seedlings
Once sorghum seedlings are around 3-4 inches tall, it’s time to thin them out. The goal of thinning is to provide enough space for the remaining plants to grow properly. To thin sorghum seedlings, start by selecting the weaker plants and removing them from the ground by gently pulling them out.
Leave the stronger and healthier plants that are around 6-8 inches apart. It’s important to avoid damaging the roots of the remaining plants during the thinning process. After thinning, water the plants to help them recover from the shock of the process. Thinning should be done in the early morning or late evening to prevent sun damage to the seedlings.
Step Six: Fertilize the plants
Fertilizing sorghum plants is essential to ensure healthy growth and maximize yields. The best time to fertilize sorghum is during the early stages of growth. You can add a balanced fertilizer with equal amounts of nitrogen, phosphorus, and potassium.
Before applying the fertilizer, make sure to moisten the soil. Spread the fertilizer evenly around the base of the plants, keeping it at least 6 inches away from the stem. Gently work the fertilizer into the soil with a hoe or rake, and then water the plants thoroughly.
It is also recommended to use organic fertilizers like compost or well-rotted manure to provide essential nutrients to the plants. Make sure not to over-fertilize the plants, as this can result in excessive growth and low-quality yields.
Step Seven: Control pests and weeds
Keeping pests and weeds at bay is a crucial part of sorghum plant care. While pests can ruin your crop, weeds compete with your plants for nutrients, water, and space. To control pests, you can introduce natural predators like ladybugs, lacewings, and praying mantises. You can also use insecticidal soaps, neem oil, and other organic pesticides.
As for weeds, it’s best to use a combination of hand weeding and mulching. Hand weeding involves removing weeds by hand, while mulching helps to suppress weed growth and conserve soil moisture. It’s important to be diligent in your efforts to control pests and weeds to ensure a healthy and productive sorghum crop.
Step Eight: Harvest the sorghum
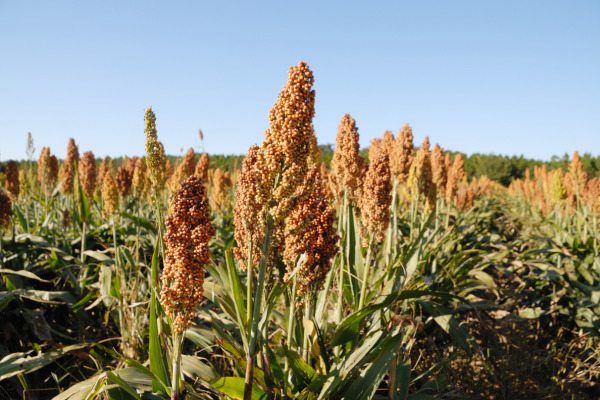
Harvesting sorghum is a very rewarding process, as you get to see the fruits of your labor! When it comes to harvesting, timing is key. You want to wait until the grains are fully matured and the seed heads have turned brown. This usually happens around 100-120 days after planting.
Once the sorghum is ready, it’s time to harvest! You can cut the stalks at the base using a sharp sickle or machete. Be sure to leave enough stalks to prevent soil erosion and to provide support for the remaining plants.
After cutting the stalks, tie them into bundles and hang them upside down in a dry, well-ventilated area to allow the seed heads to dry completely. Once they are dry, you can thresh the seeds by beating the seed heads with a stick or by using a threshing machine.
Finally, clean the seeds by winnowing them with the wind or a fan to remove any remaining chaff or debris. And voila! You now have your very own homegrown sorghum.
Pros and Cons of Growing Sorghum
If you’re wondering whether sorghum is the right crop for you to grow, you may want to weigh the pros and cons. Let’s take a look:
Pros:
- Sorghum is a drought-tolerant crop and can grow in hot and dry conditions, making it a reliable crop in arid regions.
- It requires less water and fewer nutrients than other grains like corn or wheat, making it a more sustainable crop option.
- Sorghum is a versatile crop with various uses, including food, feed, and fuel production.
- Sorghum is also a gluten-free grain, making it a popular alternative for people with celiac disease or gluten intolerance.
Cons:
- Sorghum is not as widely grown as other crops, which can make it harder to find seeds and resources for cultivation.
- Sorghum is susceptible to a variety of pests and diseases, which can affect yields and require additional management practices.
- It can be challenging to harvest sorghum, as the tall stalks can be tough to cut and thresh.
- Sorghum is not as well-known or popular as other grains, which can limit its market demand and profitability.
FAQs about Sorghum
Sorghum is a type of cereal grain that is commonly used for human consumption, animal feed, and in the production of biofuels.
Sorghum is believed to have originated from Africa, specifically Ethiopia and Sudan.
Sorghum is a good source of fiber, protein, vitamins, and minerals. It is also gluten-free, making it a great option for people with gluten sensitivities.
Sorghum has various uses, including human consumption in the form of flour, syrup, and grain-based dishes. It is also used as animal feed, in the production of biofuels, and in the manufacturing of industrial products like paper and brooms.
Sorghum is typically planted in the spring or early summer, once the soil temperature has reached at least 60°F. The seeds are planted at a depth of 1-2 inches and spaced 6-12 inches apart.
Sorghum is harvested once the seed heads have ripened and the stalks have turned brown. The seed heads can be cut and threshed by hand, or with the use of a combine harvester.
Sorghum is susceptible to various pests and diseases, including aphids, armyworms, and fungal infections like anthracnose and rust.
Sorghum is considered a sustainable crop due to its drought tolerance, low input requirements, and ability to grow in a variety of soil types. Additionally, it can be used as a feedstock for biofuels, reducing the reliance on fossil fuels.
Wrapping Up
Sorghum is a versatile and nutritious crop that has been cultivated for thousands of years, and it continues to be an important part of agriculture around the world. With a little bit of planning and care, you can enjoy a successful sorghum harvest and reap the many benefits it has to offer. Happy growing!


