Table of Content
As aesthetic plants, orchids have long been adored for their diversity and mystic beauty. They’re known as high-maintenance plants as they require a great deal of work and attention. This is because orchids can’t be grown the same way as most other flower plants. Let’s find out why.
About Orchids
There are over 28,000 different species of orchids (Orchidaceae), spread out across the globe. The most popular types include:
- Boat orchids (Cymbidium)
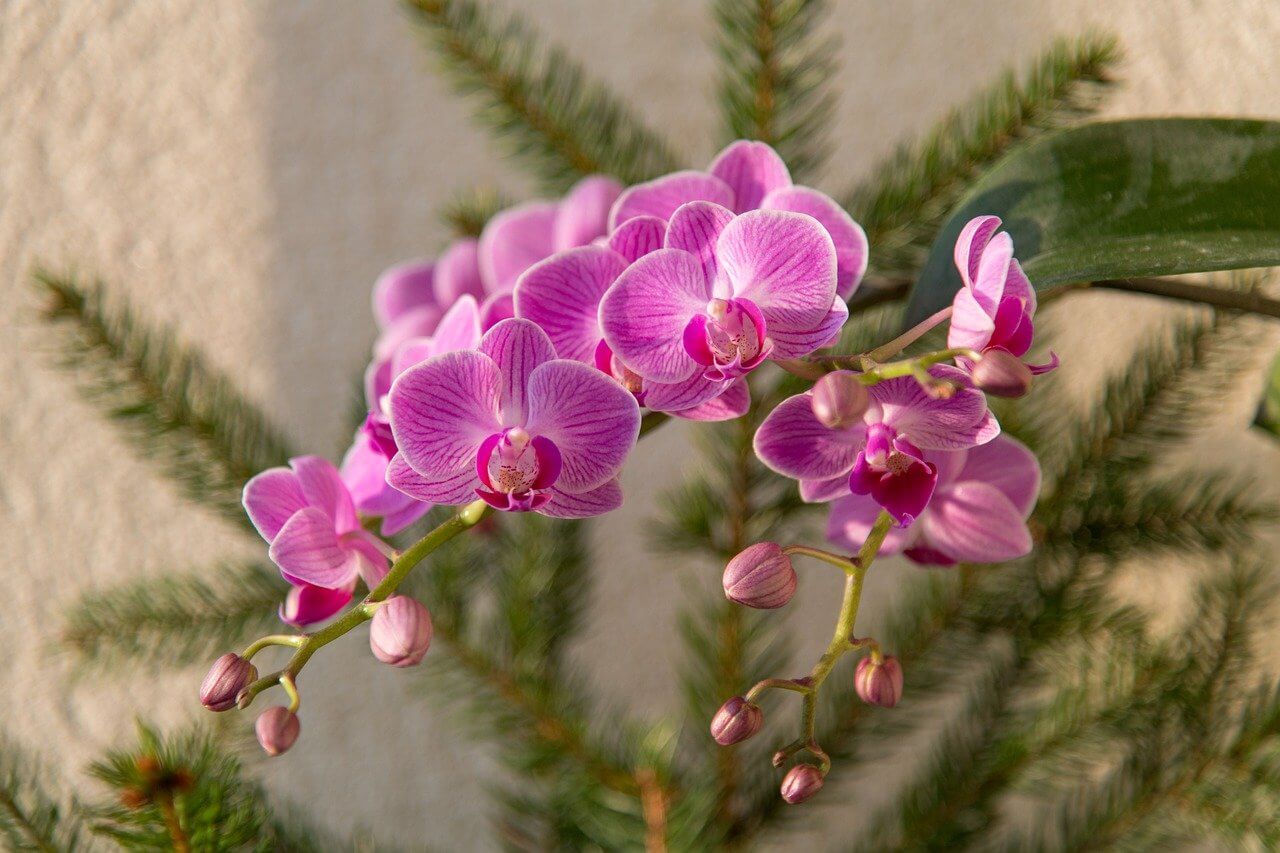
- Moth orchids (Phalaenopsis)
- Odontoglossum orchids (Odontoglossum)
- Cattleya orchids (Cattleya)
- Vanda orchids (Vanda)
Growing and Caring for Orchids
Each species of orchids has different growing needs. The key is to identify the requirements of the plant you want to grow and prepare a growing environment that meets its needs.
Propagating or Buying a Plant
Orchid propagation can be done in various ways including the following:
- Seeds
- Stem and root cuttings
- Division
- Tissue culture
- Back bulbs
- Plantlets (Keikeis)
Most of these methods require the know-how and special equipment such as grow lights, flasks, agar, and nutrient mix. Therefore, it might be easier to buy a well-established orchid plant from an orchid nursery. However, if you think you can dedicate your time and energy to propagating these plants, go for it!
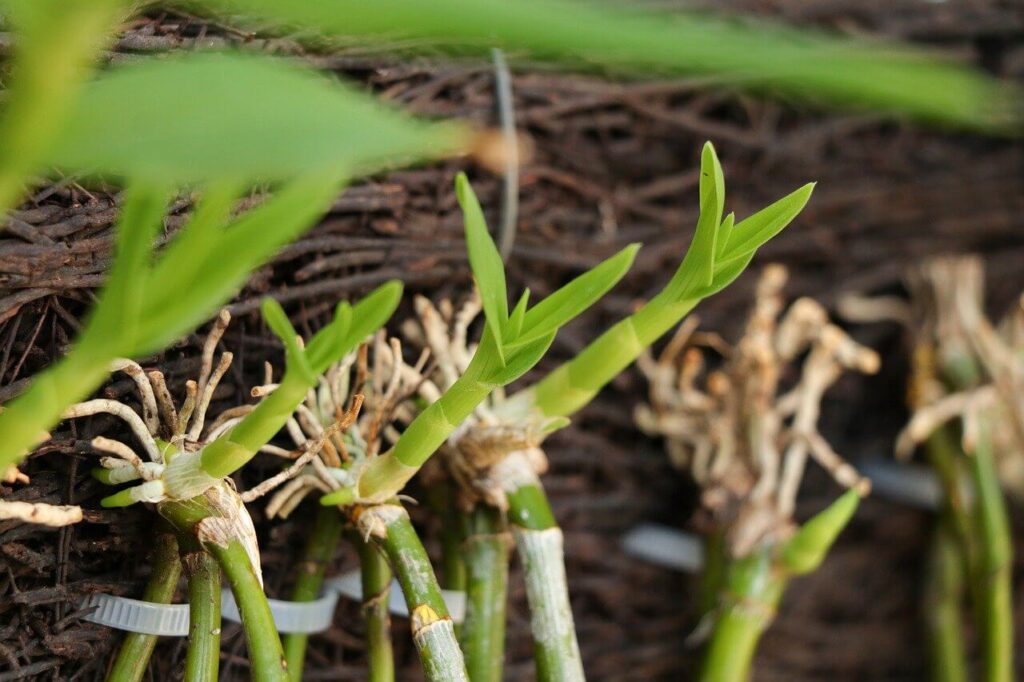
There are several things you need to consider when you’re buying an orchid plant from a nursery or a shop. First, the health and growth of an orchid are mainly measured by its roots, so buy one that’s planted in a transparent pot or bag. This will allow you to take a close look at the root ball. To find out if your plant is healthy, look for the following:
- The roots should be plump in nature. Avoid buying plants with mushy or wilted roots.
- The prop roots should be green or grayish-green in color while the aerial roots should be white colored and solid.
- There shouldn’t be lot of space between the roots. They should fill up the pot or the bag.
- The foliage should have a neutral to light green color instead of dark green.
- The leaves shouldn’t be leathery or wrinkled.
- Shouldn’t have any unnatural spots or discoloration on the leaves and on the flowers.
- The plant should be free from any kind of pest infestations or infections.
- If the growing medium has a weird smell, it could indicate root rot.
Planting Your Orchids
If you’re buying orchids, don’t replant them right away as they need some time to get adopted and used to the new environment. Wait a couple of days before you start the planting.
Choosing a Pot
Orchid roots have chlorophyll which allows for photosynthesis to take place. If possible, re-plant your orchid in a clear, transparent pot or container as this will help it get ample sunlight necessary for photosynthesis. A transparent pot will make it easier for you to inspect the roots and the growing medium. It will also help you to tell when the plant needs to be watered.
Though aeration is important, orchid plants like to be grown in a slightly tight space, so you can plant your orchid in the smallest container it can squeeze into. However, make sure that the pots have enough holes for aeration and drainage.
Soil or Growing Medium?
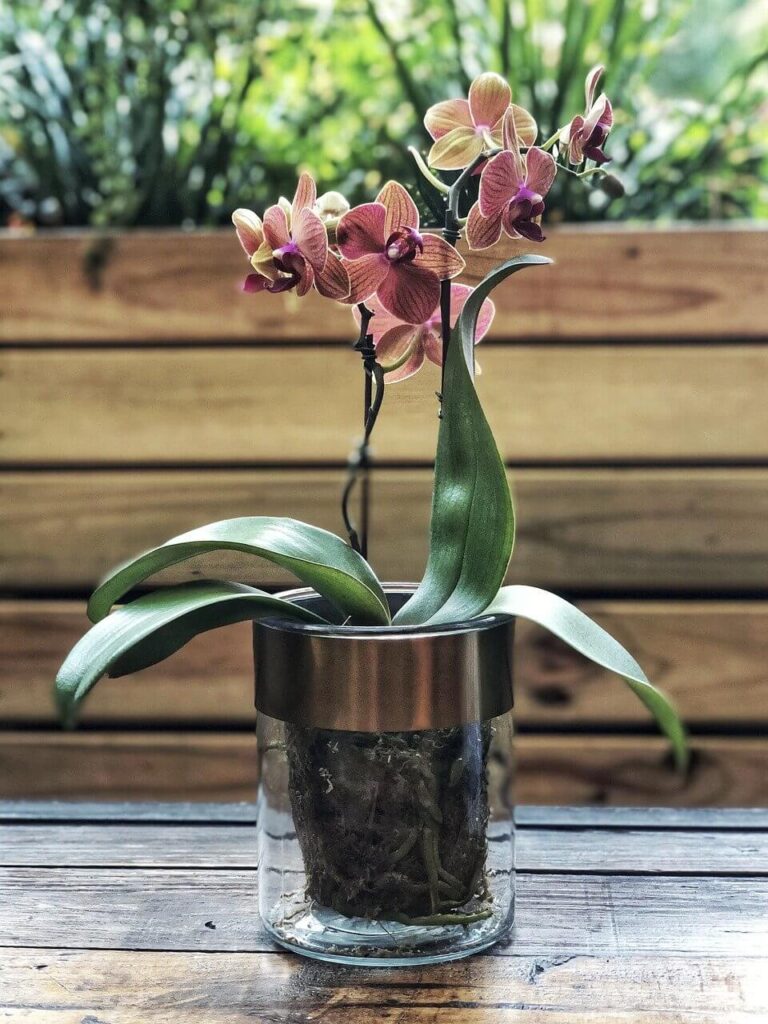
Orchids should never be planted in normal soil, potting mix, or dirt. They need extra drainage and good aeration to grow healthily so choosing a fitting growing medium is extremely important. However, this special media should be decided according to each orchid species you’ve picked to plant.
The secret is to replicate the conditions of their natural inhabitants. This can be achieved by mixing some external materials with a suitable, high-quality orchid potting mix in the market. Followings are some of the examples that you can mix into your special growing media;
- Perlite
- Bark
- Peat moss
- Lava rocks
- Gravel
- Charcoal
- Coconut coir
- Coconut husks
- Clay pellets
- Sphagnum moss
- Shredded tree fern
Light
Orchids have vividly dissimilar light requirements. For example, cold-tolerant species like “Cymbidiums” prefer bright light while more heat-tolerant plants like “Phalaenopsis” thrive in dim light. In case you’re not sure about the species and requirements of your orchid plants, the best thing to do is place your plant in a location that gets bright yet indirect sunlight. For additional lighting, you can always use fluorescent bulbs or grow lights.
If your orchid plants are displaying a lack of blooming and dark green foliage, this means that they aren’t getting enough light while leaves turning yellow or having red spots is a sign of too much lighting.
Temperature
Some orchid species love to get some daytime heat while others do not so much and some want both heat and cold moderately. In general, most orchids can’t survive in temperatures lower than 50 F (10 C) and higher than 95 F (35 C). When you can’t be certain about the temperature level, the best thing to do is keep your orchids at a spot that gets a daytime temperature between 70-80 F (21-27 C). These plants even have day/night differential heat preferences so make sure that temperature has decreased at least 10 degrees by the night.
Humidity
The humidity level for orchids should be maintained between the ranges of 40%-70% as they don’t do well below or above these levels. To find out the exact humidity level, use a gauge that can measure it correctly. A good moisture balance is a must in keeping your plants healthy so if the surrounding atmosphere doesn’t hold enough moisture, there are a few things you can do to make the situation better.
- For indoor plants, use a humidifier.
- Move the plants into a terrarium.
- Place them on a humidity tray.
- Move the plants near a water source.
- Group them with other plants.
Misting isn’t recommended as it can cause the orchids to get various foliage diseases.
Air-Flow
Getting enough air is compulsory for the health and growth of orchid roots. Good aeration is a decisive factor in keeping your orchids thriving. In the wild, these plants get enough air, but the same can’t be said for potted orchids. If you have potted orchids, try to use pots with holes or slits for good air-circulation and to allow the roots to come out for more air.
Watering
Most orchids need to be watered at least once a week but you may have to increase the watering in summer and winter while in rainy seasons you may have to decrease it accordingly. Always use fresh, clean water. If you’re using tap water, make sure to filter it beforehand to remove chemicals or you can also use clean rainwater.
Water your orchids until the excess water comes out of drainage holes but be extra careful not to wet the foliage. Well-watered orchid pots should feel heavy when you pick them up. If the pots feel light and the growing medium is dry to the touch it means you have to water the plants again.
Fertilizing
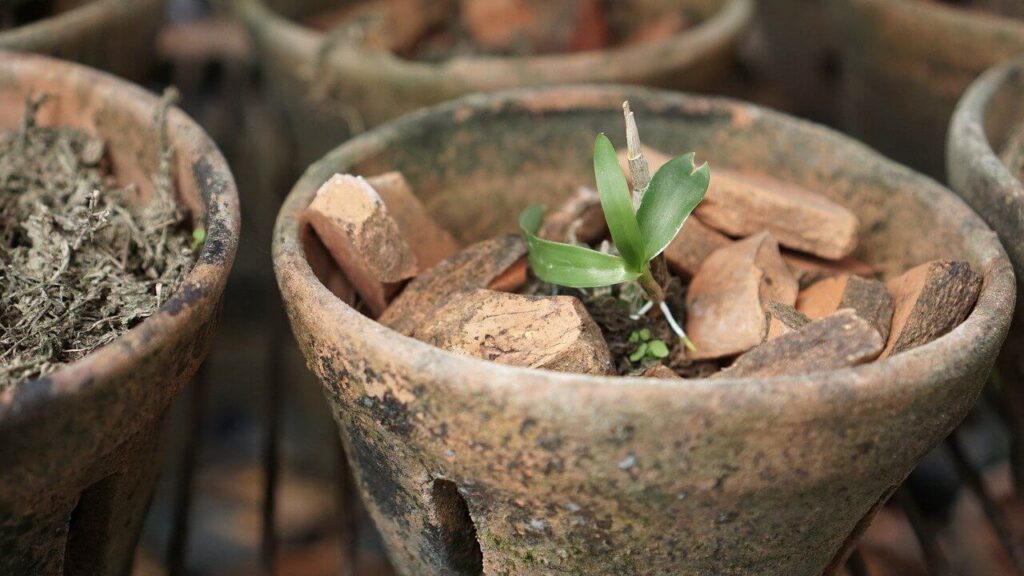
Orchids generally aren’t heavy feeders and many terrestrial orchid species don’t need any fertilizing at all. The golden rule for fertilizing is “weakly, weekly”. This means that you need to fertilize your plants on a weekly basis in very light amounts. However, it’s important to use a fertilizer that’s specially made for orchids.
Each week, after watering, use a diluted liquid fertilizer with a formula of 20-10-20 (NPK) or feed the plants with some vermicompost or vermicompost tea is also an option. You can provide them with some extra feedings to maximize the flowering in the blooming season.
Pest and Disease Control
Common insects that can attack your orchids include:
- fungus gnats
- spider mites
- aphids
- scale
- mealybugs
To prevent these infestations, you can spray the plant foliage with a disinfectant or a fungicide such as physan, neem oil, or cinnamon. Sometimes, these insects might not be visible as they can hide under the growing medium of the pots. The sure-fire signs of infestation include stunted growth, less blooming, and wilted plants. The best solution in such cases is to disinfect the plants and re-pot them in new containers with a fresh growing medium.
Orchids are also susceptible to various viruses and infections such as Cymbidium mosaic virus and Odontoglossum ringspot virus. As there aren’t any cures for these diseases, you’ll have to separate the infected plants from the good ones and destroy them immediately. Most of these diseases can be prevented beforehand through proper care.
Re-Potting Orchids
Orchids should be re-potted every one or two years. For re-potting, use a pot that fits the size of the root ball. This can be the same pot you’ve used before, as the sole purpose of re-potting orchids is to provide the plants with a new growing medium from time to time and not to change the size of the pots. The ideal time to re-pot your plants is at the end of the blooming season.
Gently pull out the plants after loosening the growing medium and remove all the residue of the old growing medium. Then, cut off any unhealthy roots and re-plant them in the fresh growth medium.
The Take Away
Orchids are highly valued flowering plants across the world for their beautiful, symmetrical flowers and exceptional foliage. When planted properly, they never fail to add that enchanting touch to your gardens. Now that you know everything there is to know about growing orchids, it’s time to have some fun planting them in your garden!


