Table of Contents
Well-draining soil is vital for the growth and health of many types of plants. It allows water to pass through easily, rather than becoming waterlogged, which can lead to root rot and other issues. It’s important to know about the different types of soil, and how to assess it, as well as how to add organic matter, and coarse materials and make necessary pH level adjustments to create the ideal well-draining soil for your plants.
Whether you are a seasoned gardener or new to gardening, this article will give you all the information you need to create and maintain well-draining soil for your indoor plants.
What is Well-Draining Soil?
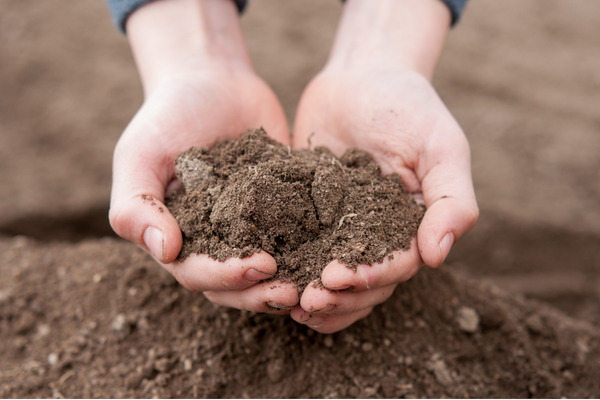
Well-draining soil is soil that allows water to pass through it easily, rather than becoming waterlogged and staying saturated. This is important for the growth of many types of plants, as they need oxygen to survive and cannot tolerate standing water around their roots.
Well-draining soil typically contains a mix of materials such as sand, silt, and clay, as well as organic matter, that help it hold air and water in the right balance.
Pros and Cons of Well-Draining Soil
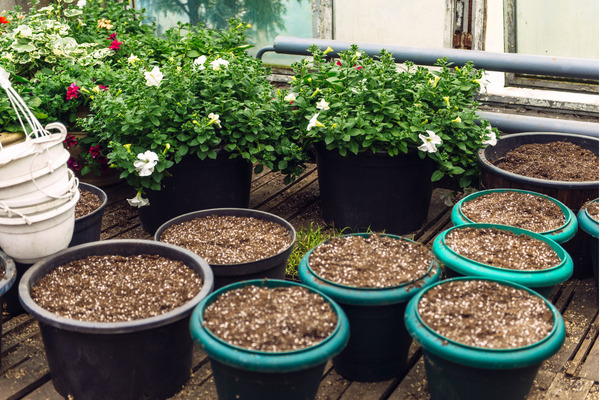
Some pros of well-draining soil include:
- It allows oxygen to reach plant roots, which is essential for their growth and survival
- It helps prevent waterlogging and root rot, which can kill plants
- It can dry out quickly after rain or irrigation, reducing the risk of disease
- it can prevent puddling, which can lead to erosion
- It’s good for plants that require moist conditions
Cons of well-draining soil include:
- It can dry out too quickly, leading to a lack of moisture for plants, especially during hot and dry weather
- It may not retain water long enough for some plants that require it
- It can be hard to maintain the proper moisture level for plants that require it
- It may need more frequent watering than soil that doesn’t drain as well
- Overall, well-draining soil can be ideal for certain types of plants and gardening situations, but it may not be suitable for all plants and conditions. The plants’ needs and specific growing condition has to be considered before selecting well-draining soil.
How to Make Well-Draining Soil
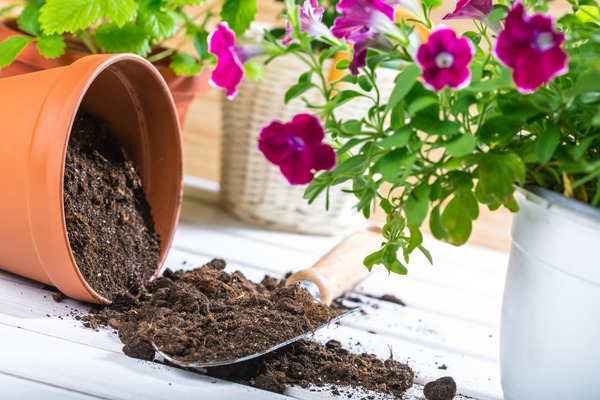
Making well-draining soil can involve a few different steps, depending on the current condition of the soil and the type of plants that will be grown in it. Here’s an overview of the process:
Step One: Assess the Current Soil
Soil assessment is the process of evaluating the physical, chemical, and biological characteristics of soil to determine its suitability for growing specific crops or plants. Here are some steps you can take to perform a soil assessment:
· Take a Soil Sample
To get an accurate representation of the soil, take samples from several different locations in the area you want to assess, such as near the top of a slope, in the middle, and at the bottom. Mix the samples together and remove any visible debris. This will give you a representative sample of the soil.
· Test the pH Level
The pH level of the soil will determine its acidity or alkalinity. This is important to know because different plants have different pH requirements. You can use a pH test kit or send the soil sample to a laboratory for analysis.
· Determine the Soil Structure
Look at the soil sample to see how it looks and feels. A good soil structure should be crumbly and easy to work with. If the soil is too dense, it could be compacted, and if it’s too sandy, it could be poorly structured.
· Test for Nutrients and Organic Matter
Test for the nutrient level, such as N-P-K, in the soil. You can also use a test to measure the percentage of organic matter in the soil. Organic matter is important because it provides food for microorganisms and helps to retain moisture.
· Observe the Drainage
You can do a drainage test by filling a container with soil, adding water and observing the rate at which it drains, you can also dig a hole and fill it with water to see how long it takes to drain.
· Check the Soil Type
The soil type will determine the soil’s ability to hold water and nutrients, as well as its structure. Types of soil include clay, sandy, silty, peaty, chalky, and loamy soils. You can use a soil texture triangle to know the soil type by determining the proportion of clay, silt, and sand in the soil.
It’s important to note that soil assessment is not a one-time process and it’s important to repeat it regularly, as the soil characteristics can change with time due to factors such as weather, erosion, and human activities. By regularly monitoring the soil condition and making necessary changes, you can ensure that the soil is in the best possible condition for growing healthy plants.
Step Two: Add Organic Matter
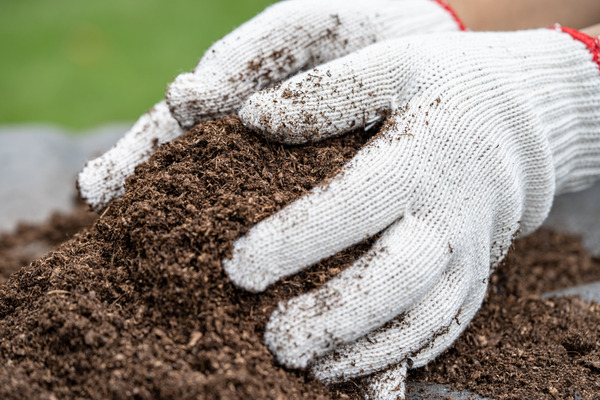
Adding organic matter to soil is a great way to improve its structure and fertility, and it can be done in a few different ways. Here are some methods you can use to amend the soil with organic matter:
- Compost: Compost is one of the best ways to add organic matter to soil. It can be made from a variety of materials such as kitchen scraps, yard waste, and livestock manure. The process of composting can take several months, but the end result is a nutrient-rich, organic matter that can be added to the soil.
- Manure: Well-rotted manure can be added to the soil as an organic matter amendment. It’s a rich source of nutrients and will improve the soil’s structure, fertility and water-holding capacity.
- Mulch: Mulch is a layer of organic material, such as leaves or grass clippings, that’s spread on top of the soil. As it decomposes, it adds organic matter to the soil and also helps to retain moisture.
- Cover Crops: Planting cover crops is another method of adding organic matter to the soil. Cover crops are typically planted in the fall and allowed to grow over the winter, they are then plowed under in the spring, adding organic matter and nutrients to the soil.
- Worn-out potting soil: Potting soil can be recycled by using it as an organic matter amendment. It’s also a good option if you have a lot of containers and it will eventually break down in the soil.
It’s important to note that the amount and type of organic matter added will vary depending on the soil conditions, the type of plants, and the climate. As a general rule, it’s good to add 3-4 inches of organic matter per square yard of soil. Organic matter can be added at any time of the year, but it’s best to add it in the fall so that it can break down over the winter and be ready for planting in the spring.
Additionally, the organic matter must be well-decomposed before adding to the soil, because fresh organic matter can pull nitrogen out of the soil and make it unavailable for plants.
Step Three: Add Coarse Materials
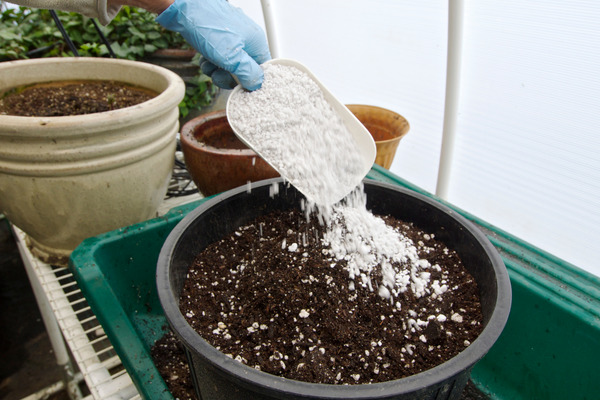
Coarse materials can be added to soil to improve its drainage, and there are several options to choose from. These materials should be added in small amounts, typically at a rate of one-third to one-half of the total soil volume. Some of the most common coarse materials used to amend soil include:
- Sand: Sand is a popular option for improving drainage in clay soils. It helps to break up the clay and create larger pore spaces for water and air to move through. It’s important to use coarse sand, not fine sand as it will not have the same effect on the soil structure.
- Gravel: Gravel is another option for improving drainage. It can be added to soil to create channels for water to flow through. Gravel can also be used to improve drainage in pots and raised beds.
- Perlite: Perlite is a volcanic glass that is lightweight and porous, it helps to improve drainage and aeration in the soil. Perlite can also help to retain moisture in the soil.
- Vermiculite: Vermiculite is similar to perlite but it is more moisture-retentive. It is often added to potting soil mixes and can be used to improve water-holding capacity in soil.
- Pumice: Pumice is a type of volcanic rock that has a high porosity and permeability. It helps to improve drainage and aeration in the soil. Pumice can also help to retain moisture in the soil.
It’s important to note that when adding coarse materials to the soil, it’s good to use a small amount, typically one-third to one-half of the total soil volume, and always mix it with the native soil.
Additionally, some materials like gravel and pumice may not be readily available in some areas and may be expensive to buy. While coarse materials can help improve drainage, they should not be considered a solution in itself, as the main goal is to create well-draining soil with a balance of the different soil components and organic matter.
Step Four: Consider Adding Amendments to Correct pH Level
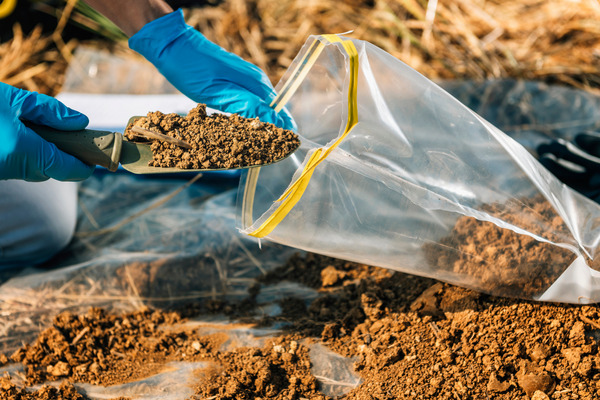
The pH level of the soil is a measure of its acidity or alkalinity, and different plants have different pH requirements. If a soil’s pH is too high or too low, it can be difficult for plants to absorb the nutrients they need to grow. Here are some amendments that can be used to adjust the pH level of soil:
- Lime: Lime is often used to raise the pH level of soil that is too acidic. Lime is made from crushed limestone and it neutralizes the acidity in the soil. It’s important to use agricultural lime, not hydrated lime or quicklime.
- Sulfur: Sulfur is often used to lower the pH level of soil that is too alkaline. It can be added to the soil in the form of elemental sulfur or sulfates, such as aluminum sulfate or iron sulfate.
- Gypsum: Gypsum can be used to help improve the structure of heavy clay soils and also can be used to lower the pH in alkaline soils.
- Aluminum sulfate: Aluminum sulfate can be used to lower pH of soil specifically for acid-loving plants like blueberries and azaleas.
It’s important to note that when adding amendments to change the pH level, it’s important to get a soil test to know the exact pH level, and the amount of amendment needed. Additionally, the pH level changes slowly over time, it’s not a one-time process, and you may need to reapply for the amendment in the future.
It’s also important to be careful not to add too much of any amendment, as this can create an imbalance in the soil and harm plants. It’s also good to wait a few weeks after adding an amendment before retesting the pH level.
Step Five: Mix and Till the Soil
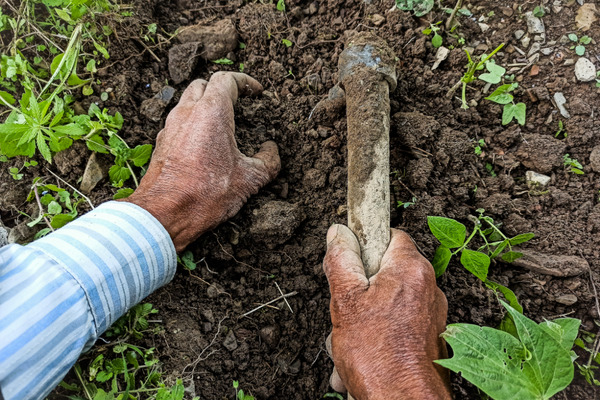
Once all of the materials have been added, the soil should be mixed and tilled to a depth of 8-12 inches. Tilling soil refers to the process of breaking up and turning over the soil using a tool called a tiller. The purpose of tilling is to aerate the soil, which means increasing the amount of air and water that can penetrate it.
Tilling also helps to mix together different layers of soil, such as the topsoil and the subsoil, to create a more homogeneous soil structure. This can help to improve the overall fertility and structure of the soil, as well as make it easier to plant seeds or transplant seedlings.
The specific technique of tilling can vary depending on the type of tiller being used. It is done using a machine that has rotating tines which help to break up the soil, the tiller can be used to chop up the surface of the soil and make it finer. This can be done to a depth of 8-12 inches, depending on the crop that’s going to be planted, and the soil conditions.
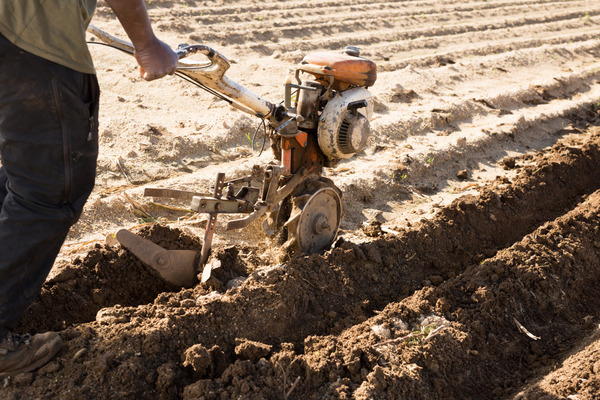
It is important to note that tilling can have both positive and negative effects on the soil, while it can help to improve soil structure and fertility, it can also cause compaction and erosion. In addition, it can also lead to the loss of important organic matter and microorganisms.
It’s recommended to till only when necessary and in the right soil conditions. In some cases, other techniques like cover cropping, mulching, or using hand tools may be more appropriate for preparing the soil for planting.
Step Six: Test the Soil Again
After making the above changes, it is recommended to test the soil again to confirm that the pH level and drainage are at optimal levels.
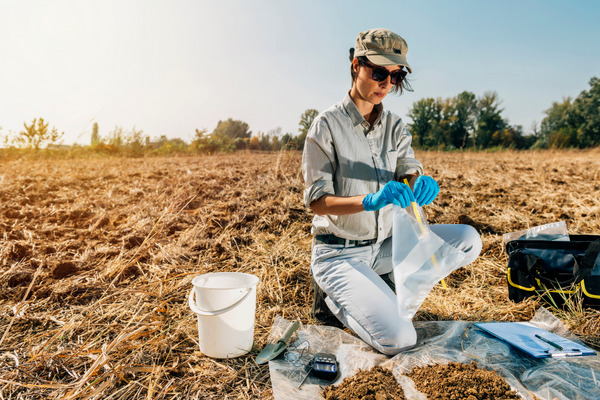
It’s important to note that the specific process of making well-draining soil may vary depending on the type of plants you will be growing, the climate, and the specific site conditions. In general, well-draining soil is typically a mix of materials such as sand, silt, and clay, as well as organic matter, that help it hold air and water in the right balance.
Additionally, keep in mind that amending soil can take time and multiple applications, it’s not a one-time process, some plants may need specific conditions that can only be obtained after maintaining the soil for some time.
How to Sterilize Your Well-Draining Soil
Sterilizing well-draining soil is a process of killing any pathogens, weed seeds, and pests that may be present in the soil. Here are some methods that can be used to sterilize well-draining soil:
- Solarization: Solarization is a method of using the sun’s heat to sterilize the soil. The soil is covered with clear plastic for 4-6 weeks during the summer, trapping the sun’s heat and killing any pathogens, weed seeds, and pests.
- Steam Sterilization: Steam sterilization involves heating the soil with pressurized steam to temperatures of around 180-200 F (82-93 C) for 30 minutes to an hour. This method can be effective in killing most pathogens, weeds, and pests, but it can be expensive and not always practical to use.
- Chemical Sterilization: Chemical sterilization uses chemicals like chlorine, hydrogen peroxide, and formaldehyde to kill pathogens, weed seeds, and pests in the soil. This method can be effective but it also can be toxic to the environment, and also can be harmful for plants if not applied correctly.
- Pasteurization: Pasteurization is a milder method of sterilizing soil, it uses heat to kill pathogens, weed seeds, and pests, but at a lower temperature than steam sterilization, around 160-170 F (71-77 C) for 30 minutes to an hour. This method can be done in a soil pasteurizer, a drum, or with a large tarp.
It’s important to note that sterilization methods can be harsh and can remove beneficial microorganisms from the soil. Additionally, it can also remove important nutrients and organic matter. Sterilization should be used only when necessary and other methods like crop rotation, crop cover, or biological control should be considered first.
Sterilization is not a one-time process, it should be done periodically to maintain sterile soil. Additionally, using sterilized soil for plants that are sensitive to certain sterilization methods can be harmful, it’s important to consider the type of plants that will be grown in the soil before sterilizing.
FAQ’s about Well-Draining Soil for Indoor Plants
Indoor plants should have their soil changed every 1-2 years or when it becomes compacted or depleted of nutrients.
Well-draining, nutrient-rich potting soil with a slightly acidic to neutral pH is best for indoor plants.
Check the soil moisture level, if the soil is always wet or waterlogged, the soil is not well-draining, if the soil dries out quickly, it may be too well-draining.
Sandy soil, a soil that is made up of a high percentage of sand particles is an example of well-draining soil because it allows water to drain through quickly.
Potting soil may not be draining due to compacted soil, over watering, poor soil mix, or blocked drainage holes.
The Take-Away
Well-draining soil is crucial for the growth and survival of many plants as it allows oxygen to reach the roots and prevents waterlogging and root rot. It’s important to remember that soil conditions can change over time and regular monitoring and testing is necessary to maintain the optimal conditions for your plants.
Additionally, it’s important to consider the specific growing conditions and the plant’s needs before amending the soil. With the right approach, you can create well-draining soil that will support healthy and thriving plants.


