Table of Content
Garlic offers a lot of benefits, not just as a spice but also as a vegetable and herb. So, this is why it’s considered a must-have food that’s found in almost every kitchen.
Most people are used to buying their garlic from the local grocery store or the supermarket instead of growing it for themselves. However, you’ll be surprised to know that garlic is one of the easiest crops to be grown at home and it’s a great way to have an unlimited supply ready for you to use.
If you’re interested in growing your own garlic at home, here’s a complete step-by-step guide on how to grow garlic in your own garden.
What is Garlic?
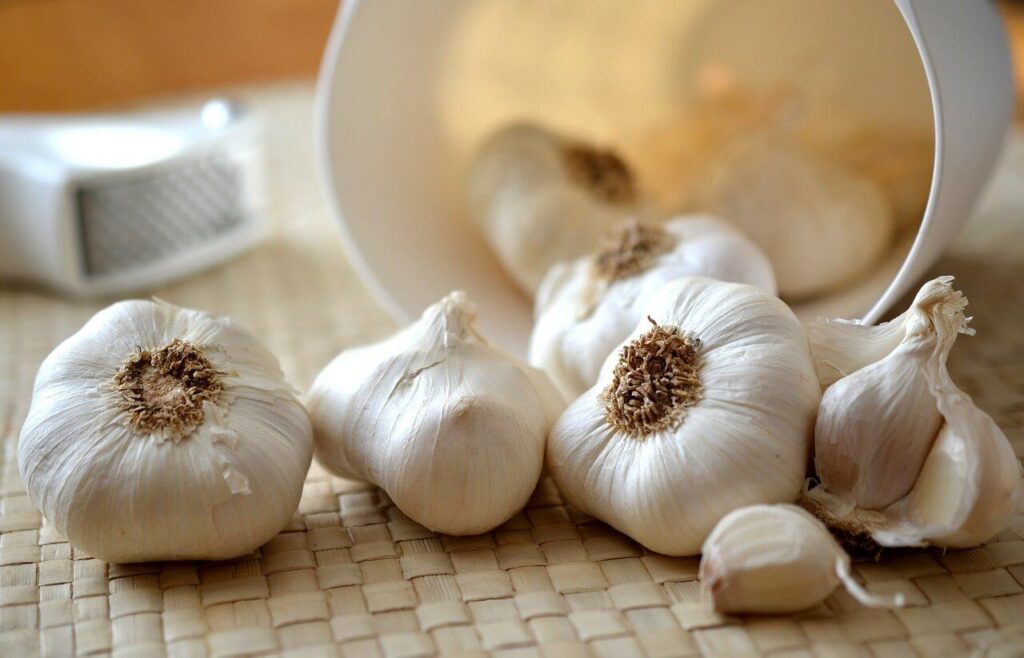
Garlic belongs to the bulbous plant family with its bulb-like fleshy leaf base. Although it’s native to central Asian and northeast Iranian regions, with proper and favorable growing conditions it can be grown almost anywhere in the world. Today, China is considered to be the largest garlic grower in the world, which is around 76% of the world’s supply.
Different Types of Garlic
There are two main varieties of garlic based on their texture and a few other distinctive physical characteristics.
1. Hardneck Garlic
This type of garlic has 4 to 12 big cloves in each bulb and they’re supposedly richer in flavor than softnecks. They have a loose outer rind making them easy to peel and can last from 4 to 5 months.
They produce a pedicel (a small stalk bearing a flower) from the middle of the bulb with a green-colored stalk. This pedicel is also known as a “scape”, and over time this scape turns woody and hard. Hardneck garlic grows best in cold weather conditions.
2. Softneck Garlic
Unlike the hardneck, this type of garlic has a thick outer layer and many more cloves in a bulb. The softneck garlic can be divided again into two subcategories: Artichoke and Silverskin. While the Silverskin garlic produces a high yield, Artichokes have a long shelf life which can be up to 8 months.
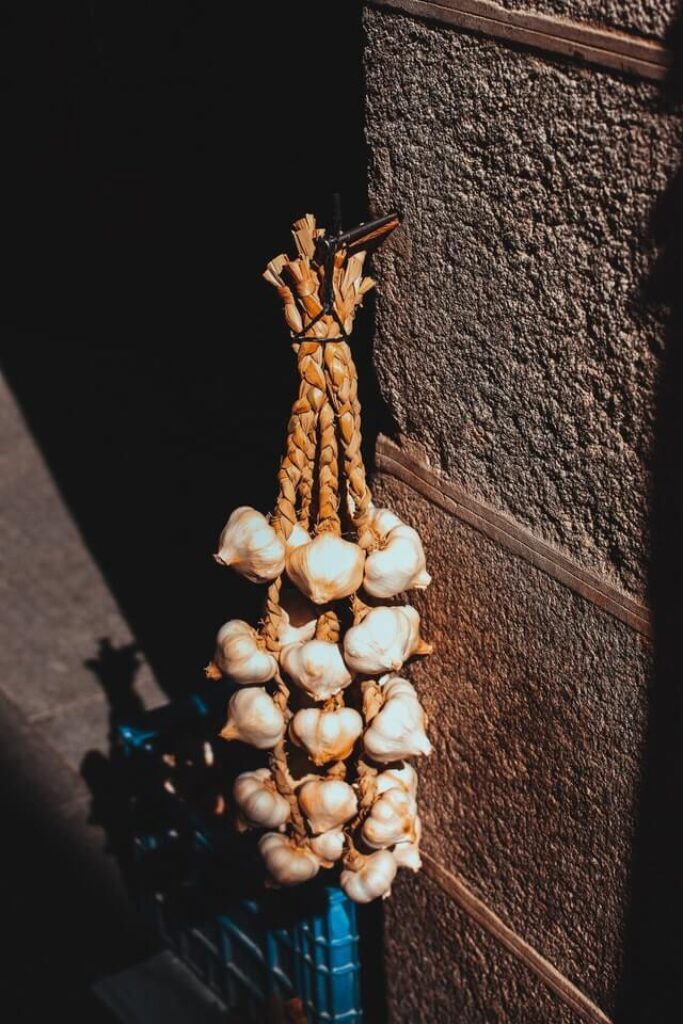
Softneck garlic is often used to make garlic braids and hung up for display in kitchens. This type of garlic can grow in both cold and warm environments.
Benefits of Garlic
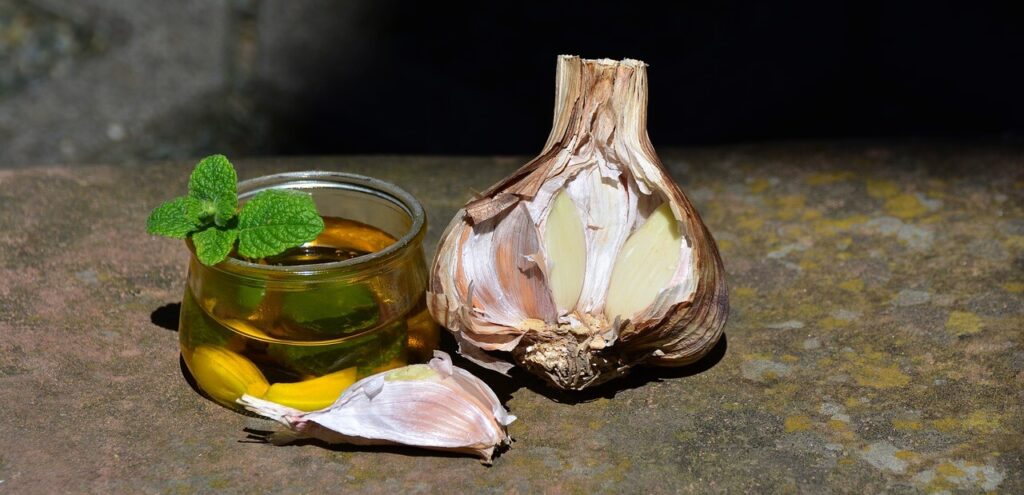
Not only does garlic give extra flavor to your food, but it also has many health benefits. Here are a few:
- Reduce the risk of heart disease
- Increase memory and minimize the brain damage due to aging
- Healthy bones
- Boosts immune system
- Helps lower high blood pressure
- Brings down the cholesterol
- Enhances physical performance by lessening fatigue
- Nourish and protect skin
Best Time of the Year to Grow Garlic
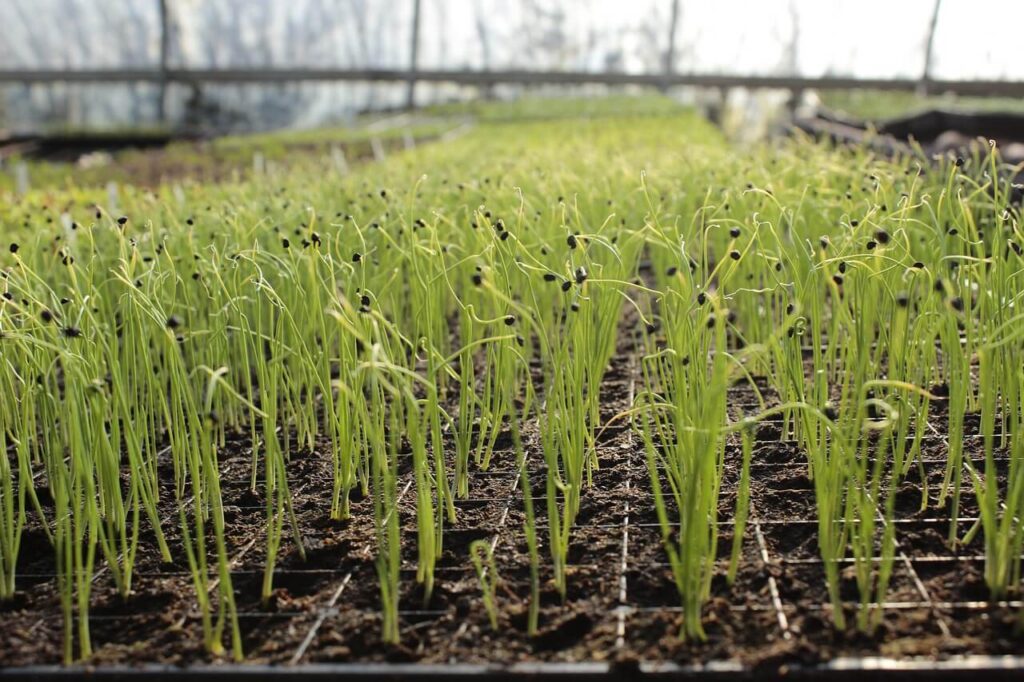
Deciding when to plant garlic depends on where you live and certain environmental conditions. However, it’s best to plant it before winter. That the roots will be able to set in before the ground becomes too frozen and dry. Late September to mid-October is considered the ideal time for planting garlic.
How to Grow Garlic at Home
If you’re growing your own garlic at home, here are some easy and useful steps to follow:
1. Choose a spot
Garlic is a sun-loving crop and should be planted in a location where it can get 6-8 hours of sunlight per day in the spring and summer times. Too much water and moisture will cause the garlic bulbs to rot. If the garden doesn’t have a good drainage system, planting the cloves in the raised garden beds that are 8-12 inches deep will do the trick.
2. Preparing the Soil
When preparing the soil, it’s important to make sure that it’s well-drained and fertilized properly as garlic thrives best in loose and enriched soil. If the soil isn’t rich enough, mix it with some compost before planting.
3. Mulching
Mulching is one of the best things you could do for your plants. Mulch helps retain moisture in the soil and acts as an insulation and root layer that helps to regulate soil temperature. There are many different types of mulch you can buy online or at your local garden store. However, you can always make your own mulch at home if you’d prefer. Check out our article on ‘How to Make Mulch – A Quick Guide’.
Organic mulch types such as compost, straw, weed-free hay, and cow dung are very good for garlic since they suppress weeds, and decay slowly, enriching the soil over time.
4. Planting
Once you’ve decided on the number of cloves you want to plant, start making holes about 2 inches deep in the soil. Keep a space of about 4-6 inches between them.
Place the cloves in the holes with their pointy side up and after covering them, press down the soil tightly. In areas with winter climate conditions, it’s best to cover the planted areas with a 6 inched layer of hay or straw mulch to protect the cloves from the frost heaving.
5. Watering
After planting, your garlic must be watered enough so the moisture can reach its roots. However, be careful not to over-water them as this could cause the cloves and roots to rot. The best way to water them is with a drip irrigation system which can soak the roots directly with just the right amount of water.
An average of 1/2-1 inch of water per week is good enough for your garlic plants in normal weather conditions. During the hottest climate season, they should be watered daily while in the cold and rainy seasons they require less water.
6. Fertilizing
Fertilizing keeps garlic healthy and helps produce the best bulbs. While organic fertilizers are beneficial to garlic, they’re solely not enough to provide the best nutrient levels for the plants to flourish and thrive successfully when used on their own.
Fertilizers with a high nitrogen percentage are the most effective and suitable ones for garlic plants. Add a 1-inch thick layer of fertilizer in a 3-4 inch diameter circle around your plants for ideal growth.
7. Diseases and Pests
Sometimes, garlic itself is used for pest control purposes. Its offensive odor tends to repel most pests. However, garlic does attract some pests such as thrips, leaf miners, bulb mites, onion maggots, and nematodes. Spraying the plants with a liquid soap solution will repel these pests effectively.
Garlic plants are prone to various fungal infections such as fusarium and rust. While fusarium causes the plant roots to rot, rust infection generates red pustules on the plant leaves. Rust can be treated with a soda or potassium bi-carbonate spray or a copper spray that’s organically certified.
However, there’s no treatment for fusarium, so in this case, the best thing to do is removing the infected plants as quickly as you can from the good ones.
8. Harvesting
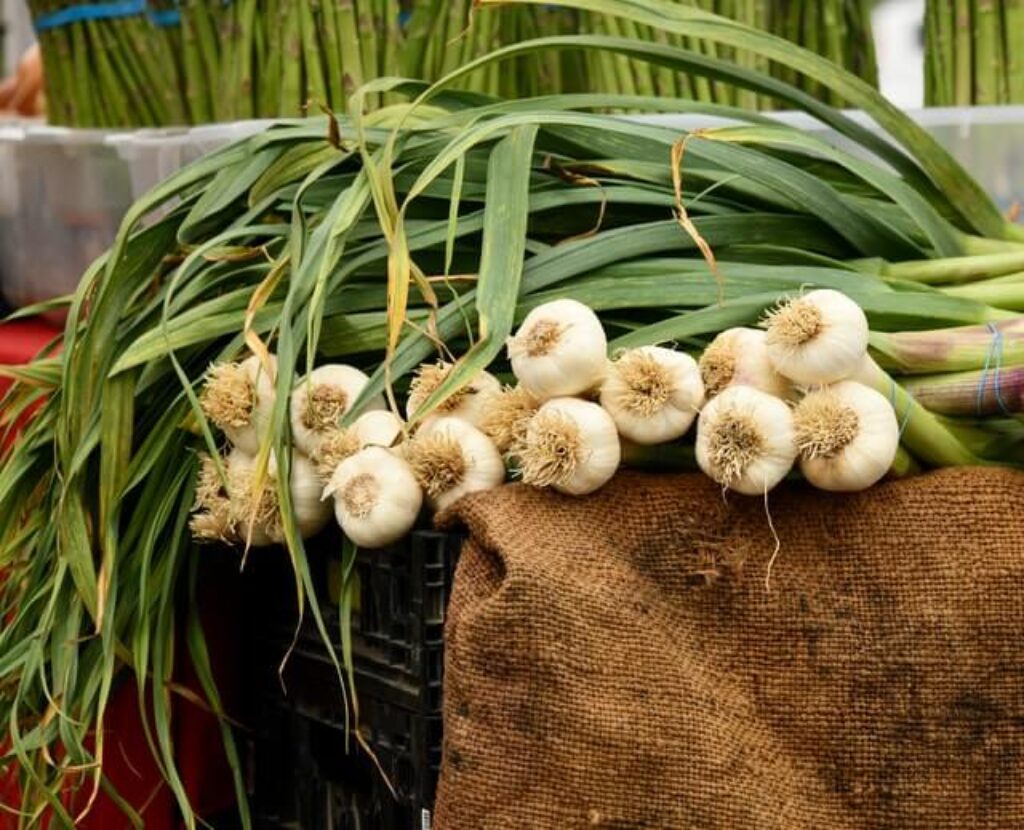
Garlic planted in the fall can be harvested by June or July. When the lower parts of the plants are turning brown, it means they’re ready to be harvested. If you’re not sure about this, dig up a bulb or two and check whether the cloves flesh out the peels fully and completely. If they do so, then it’s time to harvest them.
Unlike onions, garlic bulbs are not easy to pull out without damage. To harvest, loosen the soil around the plants carefully, dig them up with a tool like a garden fork or a shovel. When doing this, be careful not to cut or slice through them.
9. Storing Your Garlic
When stored properly, garlic has a much longer shelf life than most other types of organic food. After pulling the bulbs out of the soil, they should be cleaned off well and all the soil should be removed, but remember not to wash the bulbs or they will rot.
Once they’re cleaned properly, leave the scape or the roots just as they are, and let the bulbs dry at least 3-4 weeks continuously. The drying shouldn’t be done under the sunlight as this can cause the flavor to reduce. To avoid this, keep them in a cool, dry, and dark place in bundles or lying flat on a surface.
Once the garlic is well dried, cut away the said roots and store them out of the sunlight. Braiding and hanging is a fun way to store your garlic but you can also keep them in containers.
Wrapping Up
As you can see, growing your own garlic at home is simple and can be very rewarding. All it takes is a little patience and effort to have your own unlimited supply of healthy garlic growing in your garden.


